Sous Vide
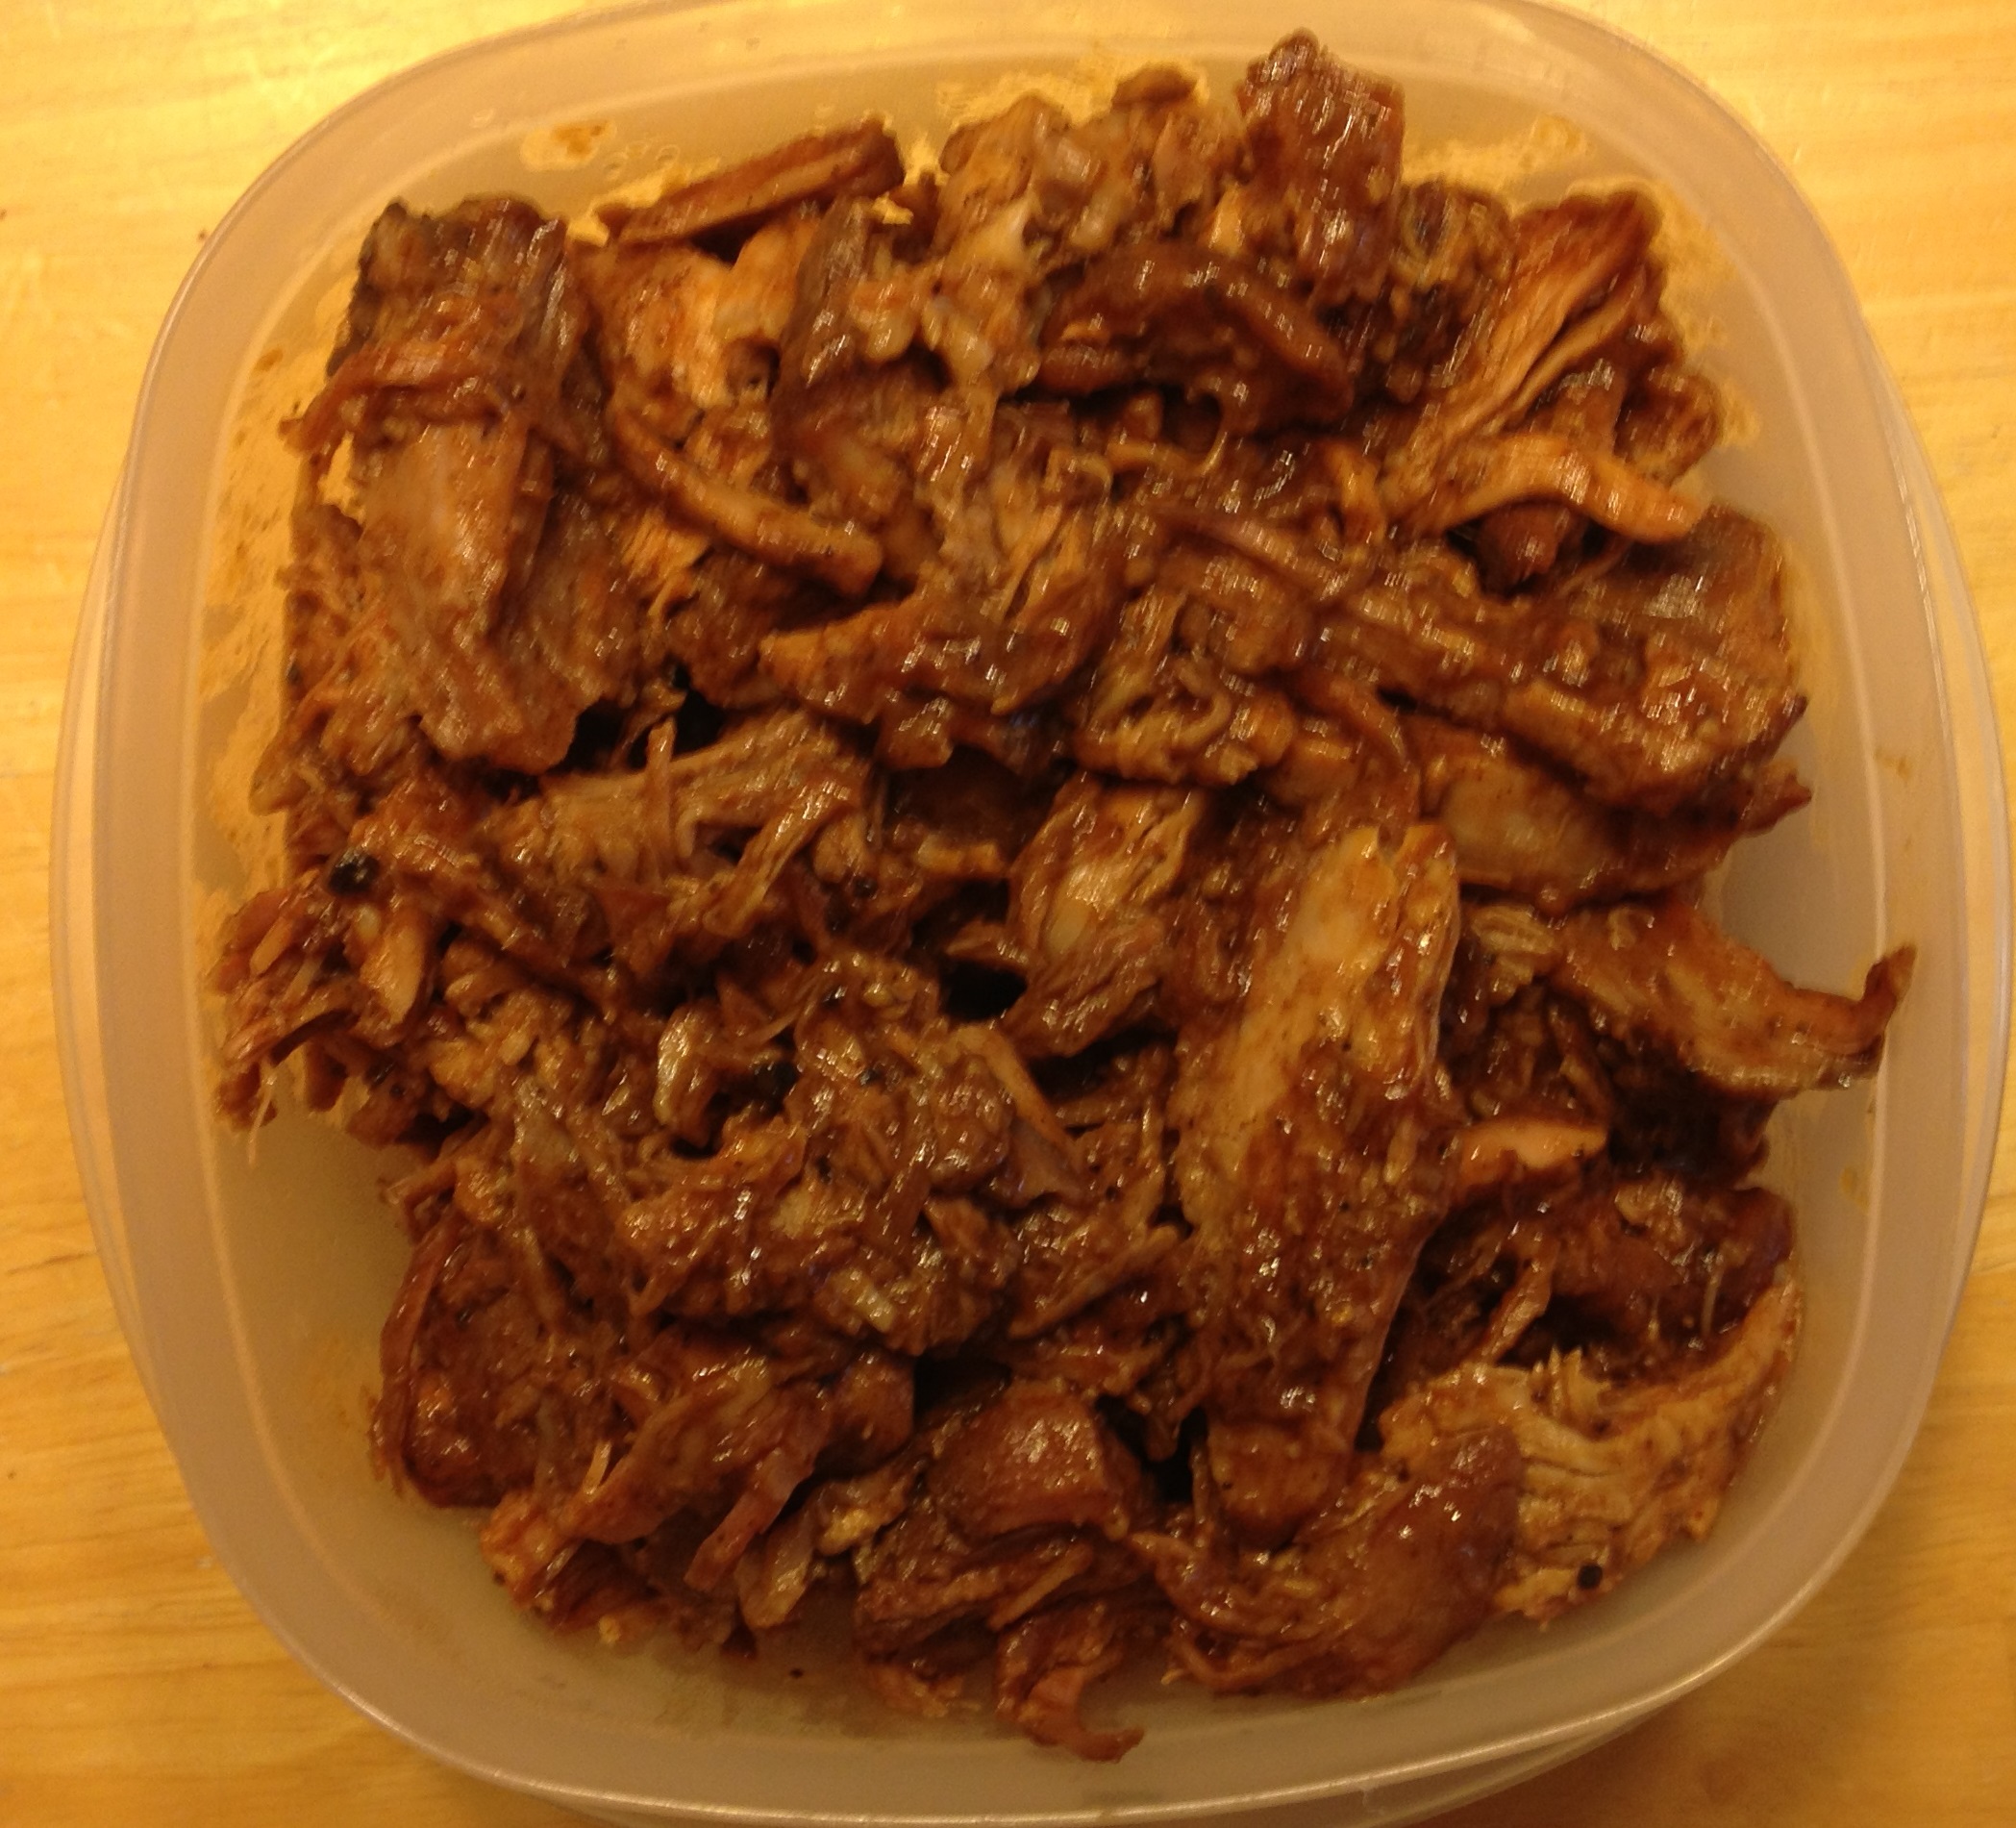
Smoked / Sous Vide Pulled Pork
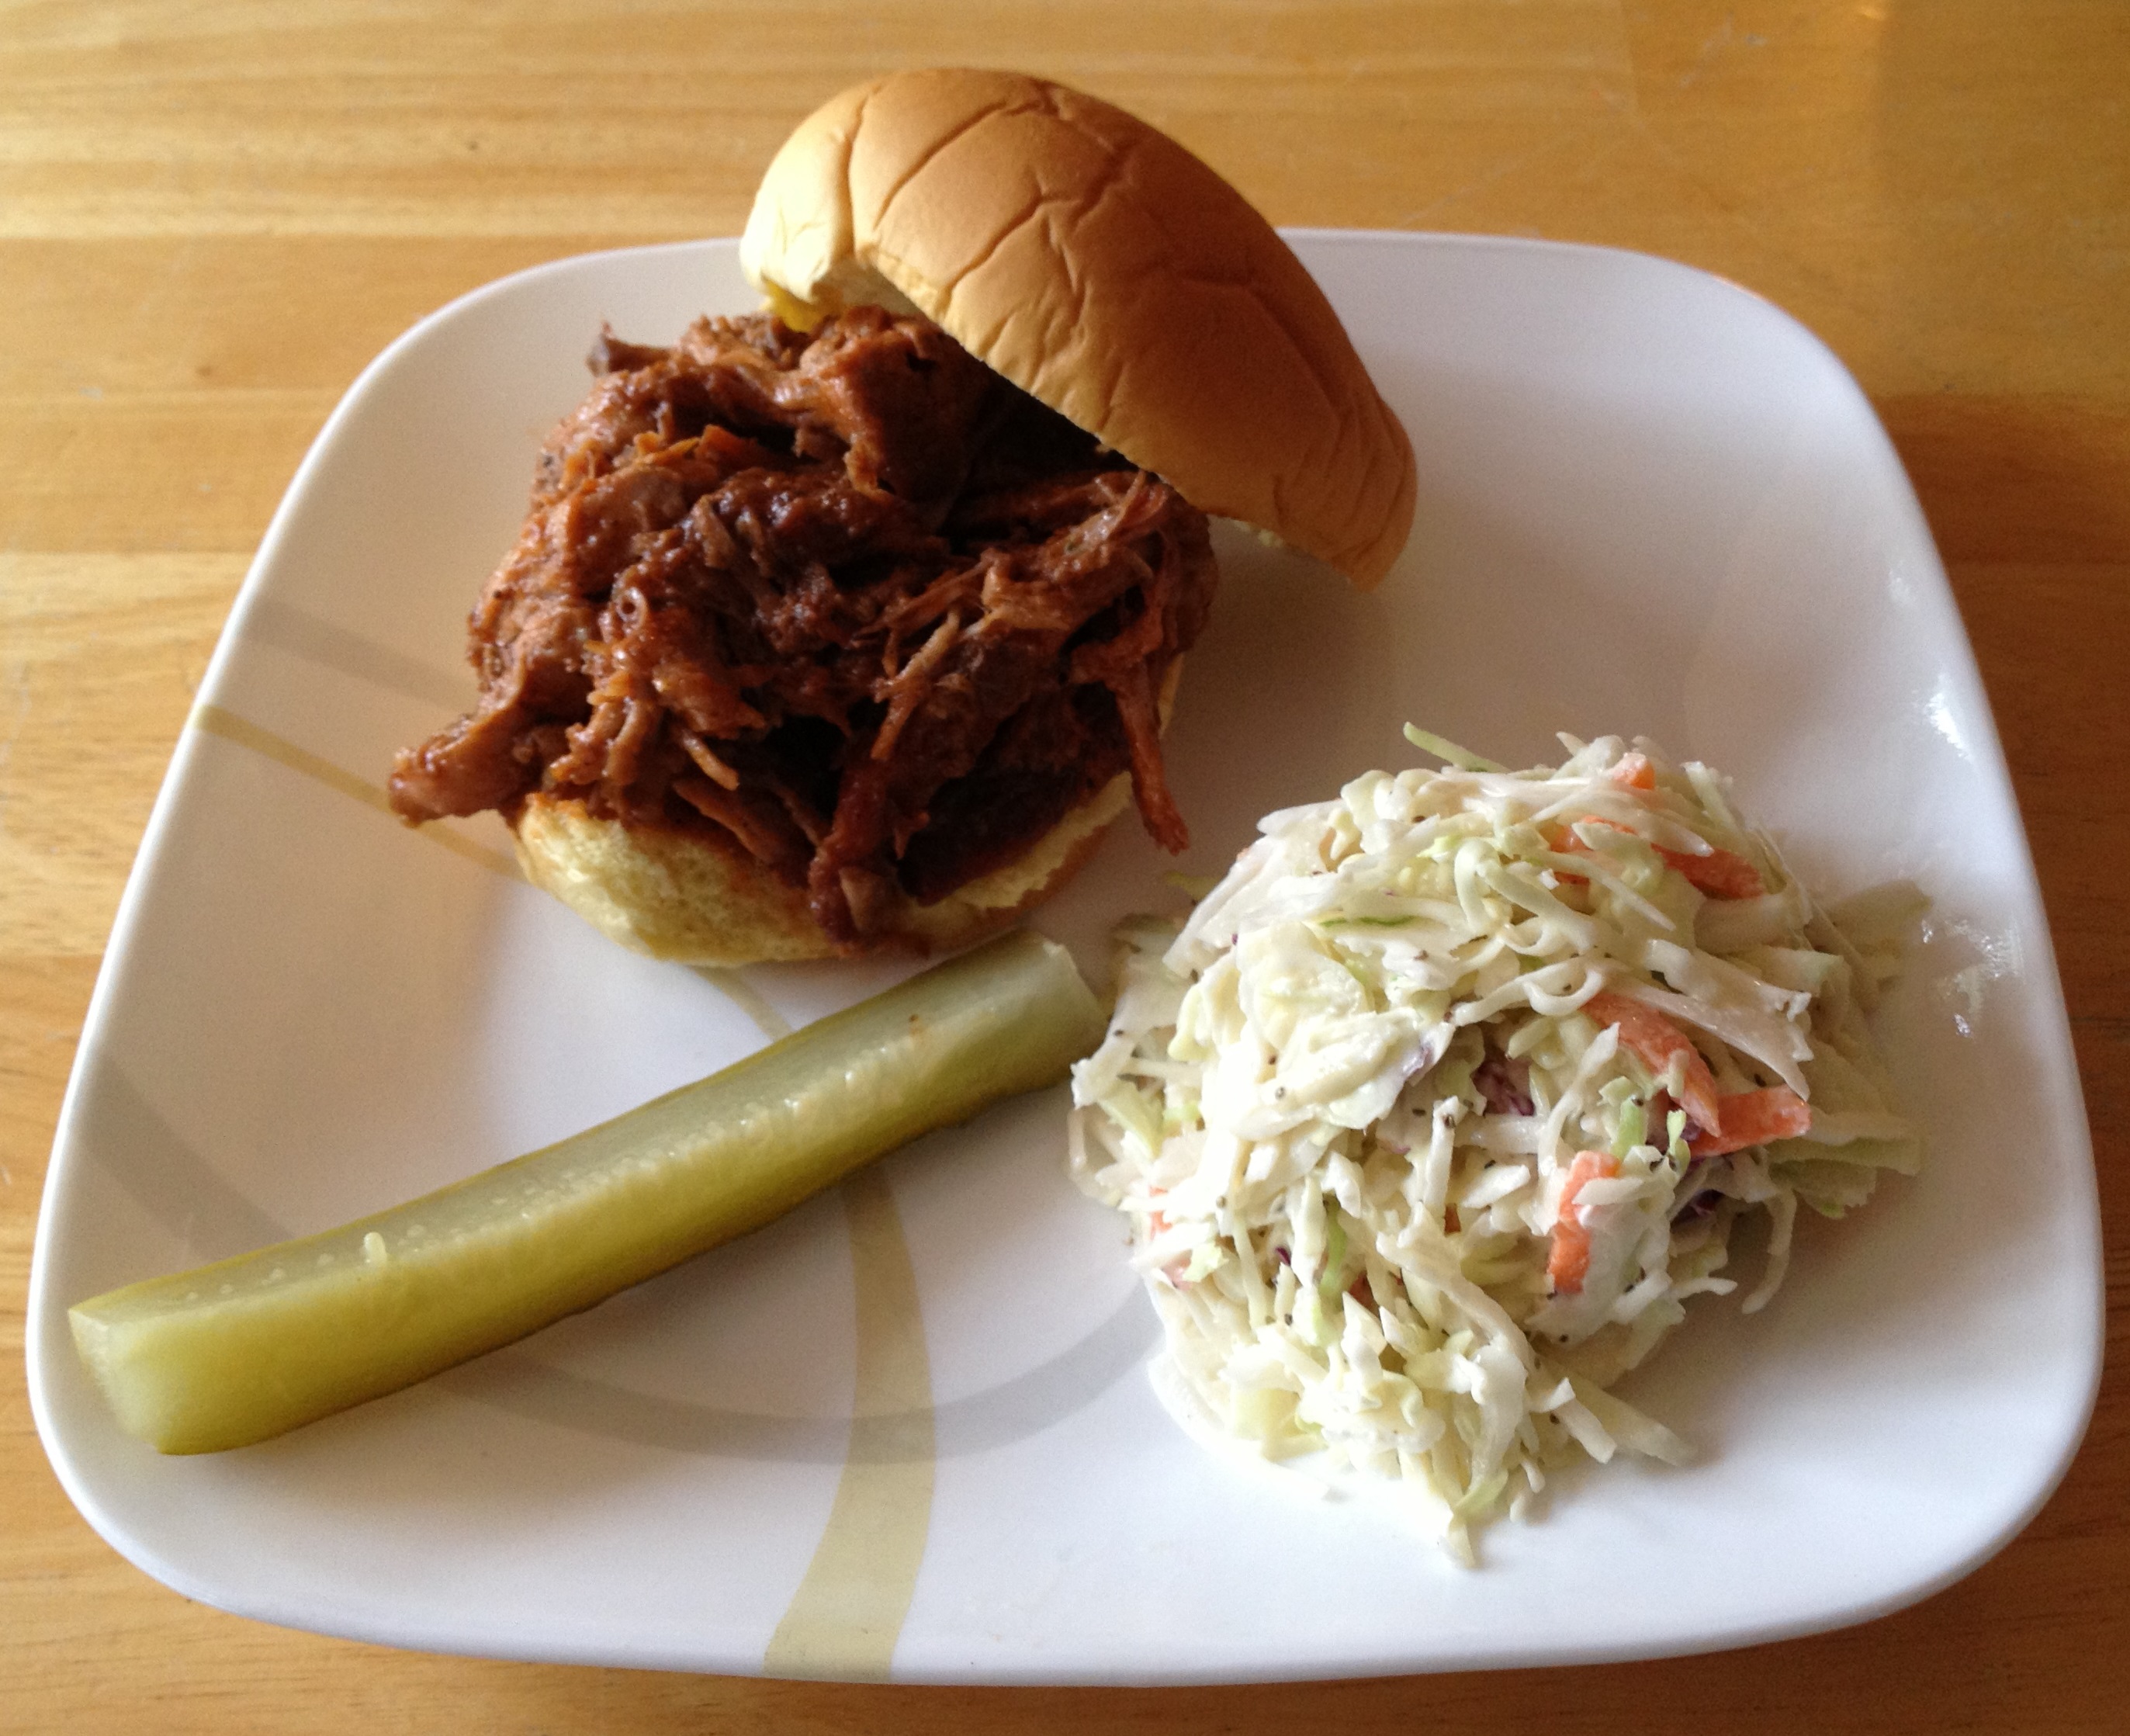
For Father’s day my husband wanted pulled pork sandwiches and coleslaw. I wanted to try it sous vide, but also give it some smokey flavor. I was really pleased with the results. It was pull-apart tender and really made a nice sandwich.
Here’s what you will need:
- 1 pork roast (I used a pork shoulder)
- barbecue sauce
Roasted Garlic Beef Roast

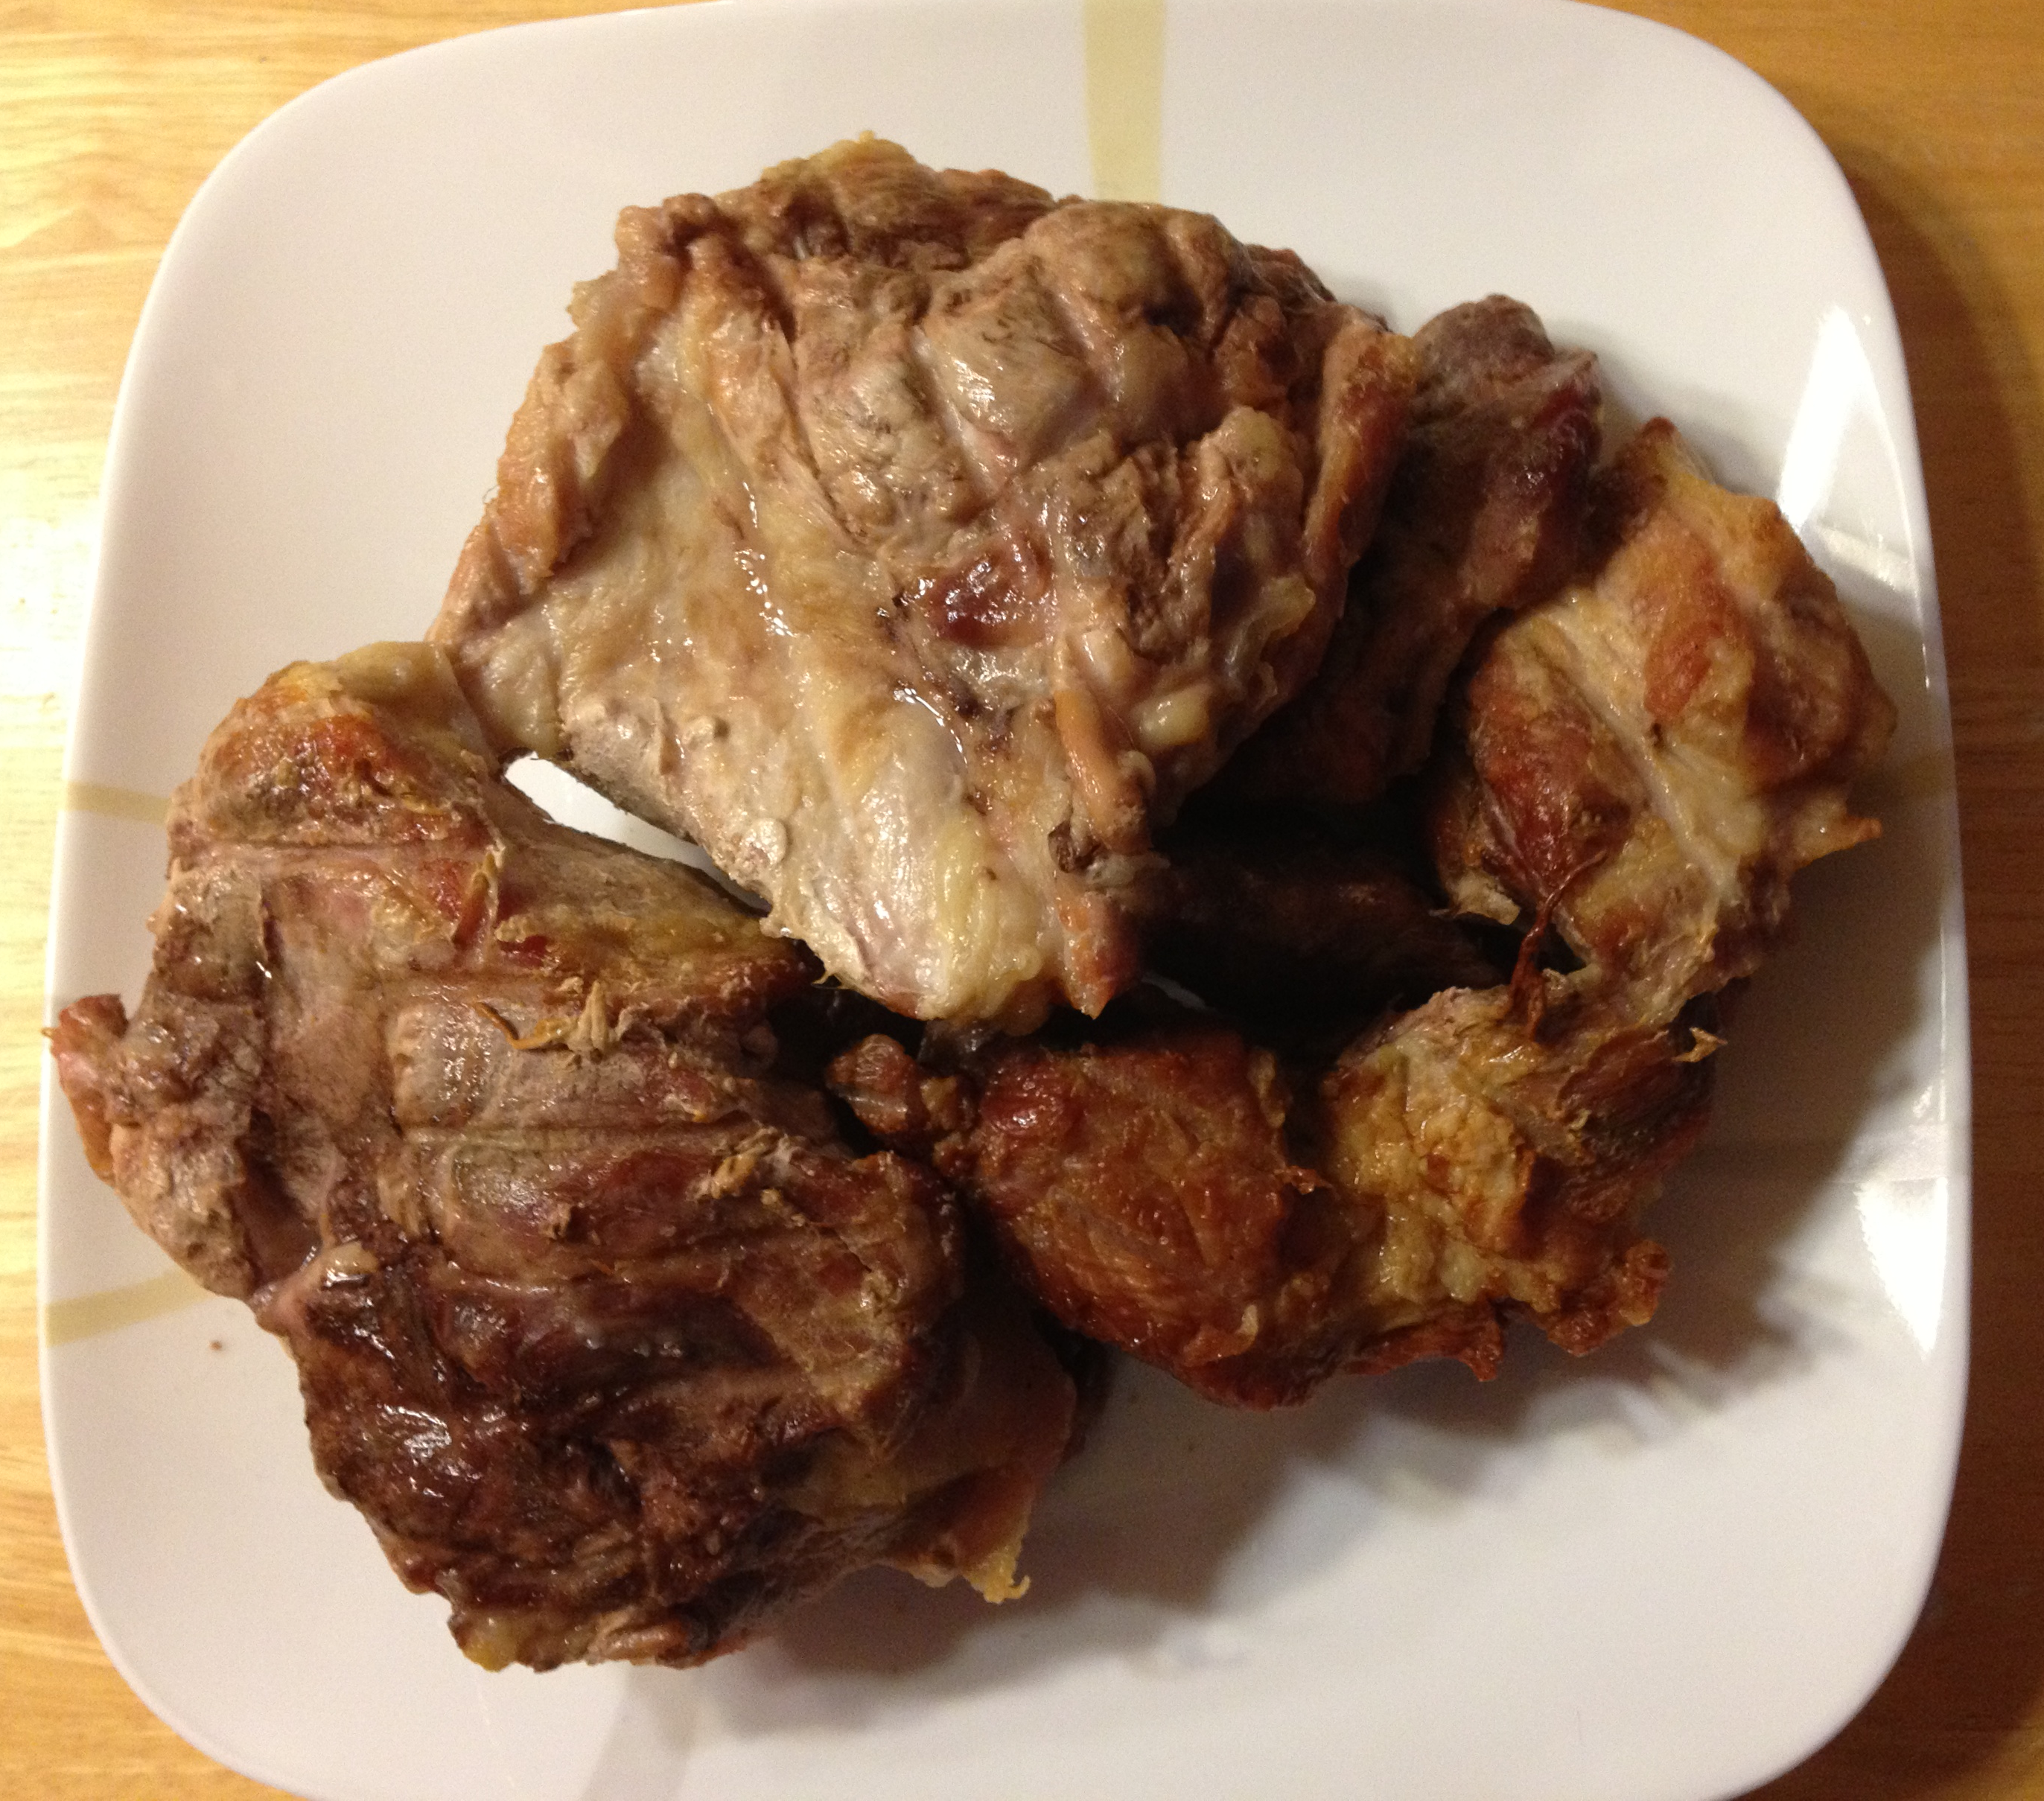
For this recipe I wanted to see if I could impart some smokey flavor without actually smoking the roast. The rub was very tasty and I really liked the roasted garlic flavor. It didn’t have as much smokiness as I hoped it would and if I do it again I probably won’t bother with the smoker.
Ingredients:
- 1 beef roast
- 1 bulb garlic
- 1/4 cup lime juice
- 1/2 cup water
- 2 tbs pepper
- 1 1/2 tsp turmeric
- 1 1/2 tsp cumin
- 1 1/2 tsp paprika
- 1 1/2 tsp honey
- 1 1/2 tsp salt
- 1/2 cup olive oil
To roast the garlic cut about 1/2″ off the top and peel off some of the outer skin. Drizzle with 1 tbs oil. I used a garlic baker, but you can also wrap it in foil.

Blend the lime, water, pepper, turmeric, cumin, paprika, honey, salt, and oil. Pour into a pie plate. Place the garlic and mustard sauce in a hot smoker.

I smoked mine for 1 1/2 hours in a cabinet smoker set at the highest level (275°). You can also roast the garlic in an oven set at 325° for 45 minutes.

Remove from the smoker and puree the garlic with the mustard sauce. You should be able to pinch out the garlic from the skins. Brush the roast liberally with the sauce (I used half).
 I chose to sous vide the roast, but it can be cooked in the oven or however you would like. For the sous vide I cooked it for 8 hours at 134°. Then I let it cool off for 30 minutes and seared it on a hot griddle.

The roast was cooked perfectly and we really enjoyed it.

The Best Roast Beef for Sandwiches

One of the greatest successes I’ve had with sous vide cooking is roast beef for sandwiches. Here is how I do it.
Ingredients
- beef roast (I used a 3lb London broil)
- granulated garlic (not fresh)
- salt
- pepper
To prepare the roast trim the fat and sprinkle liberally with garlic, salt, and pepper. I have read that using fresh garlic turns bitter when cooking sous vide so I always use dried.

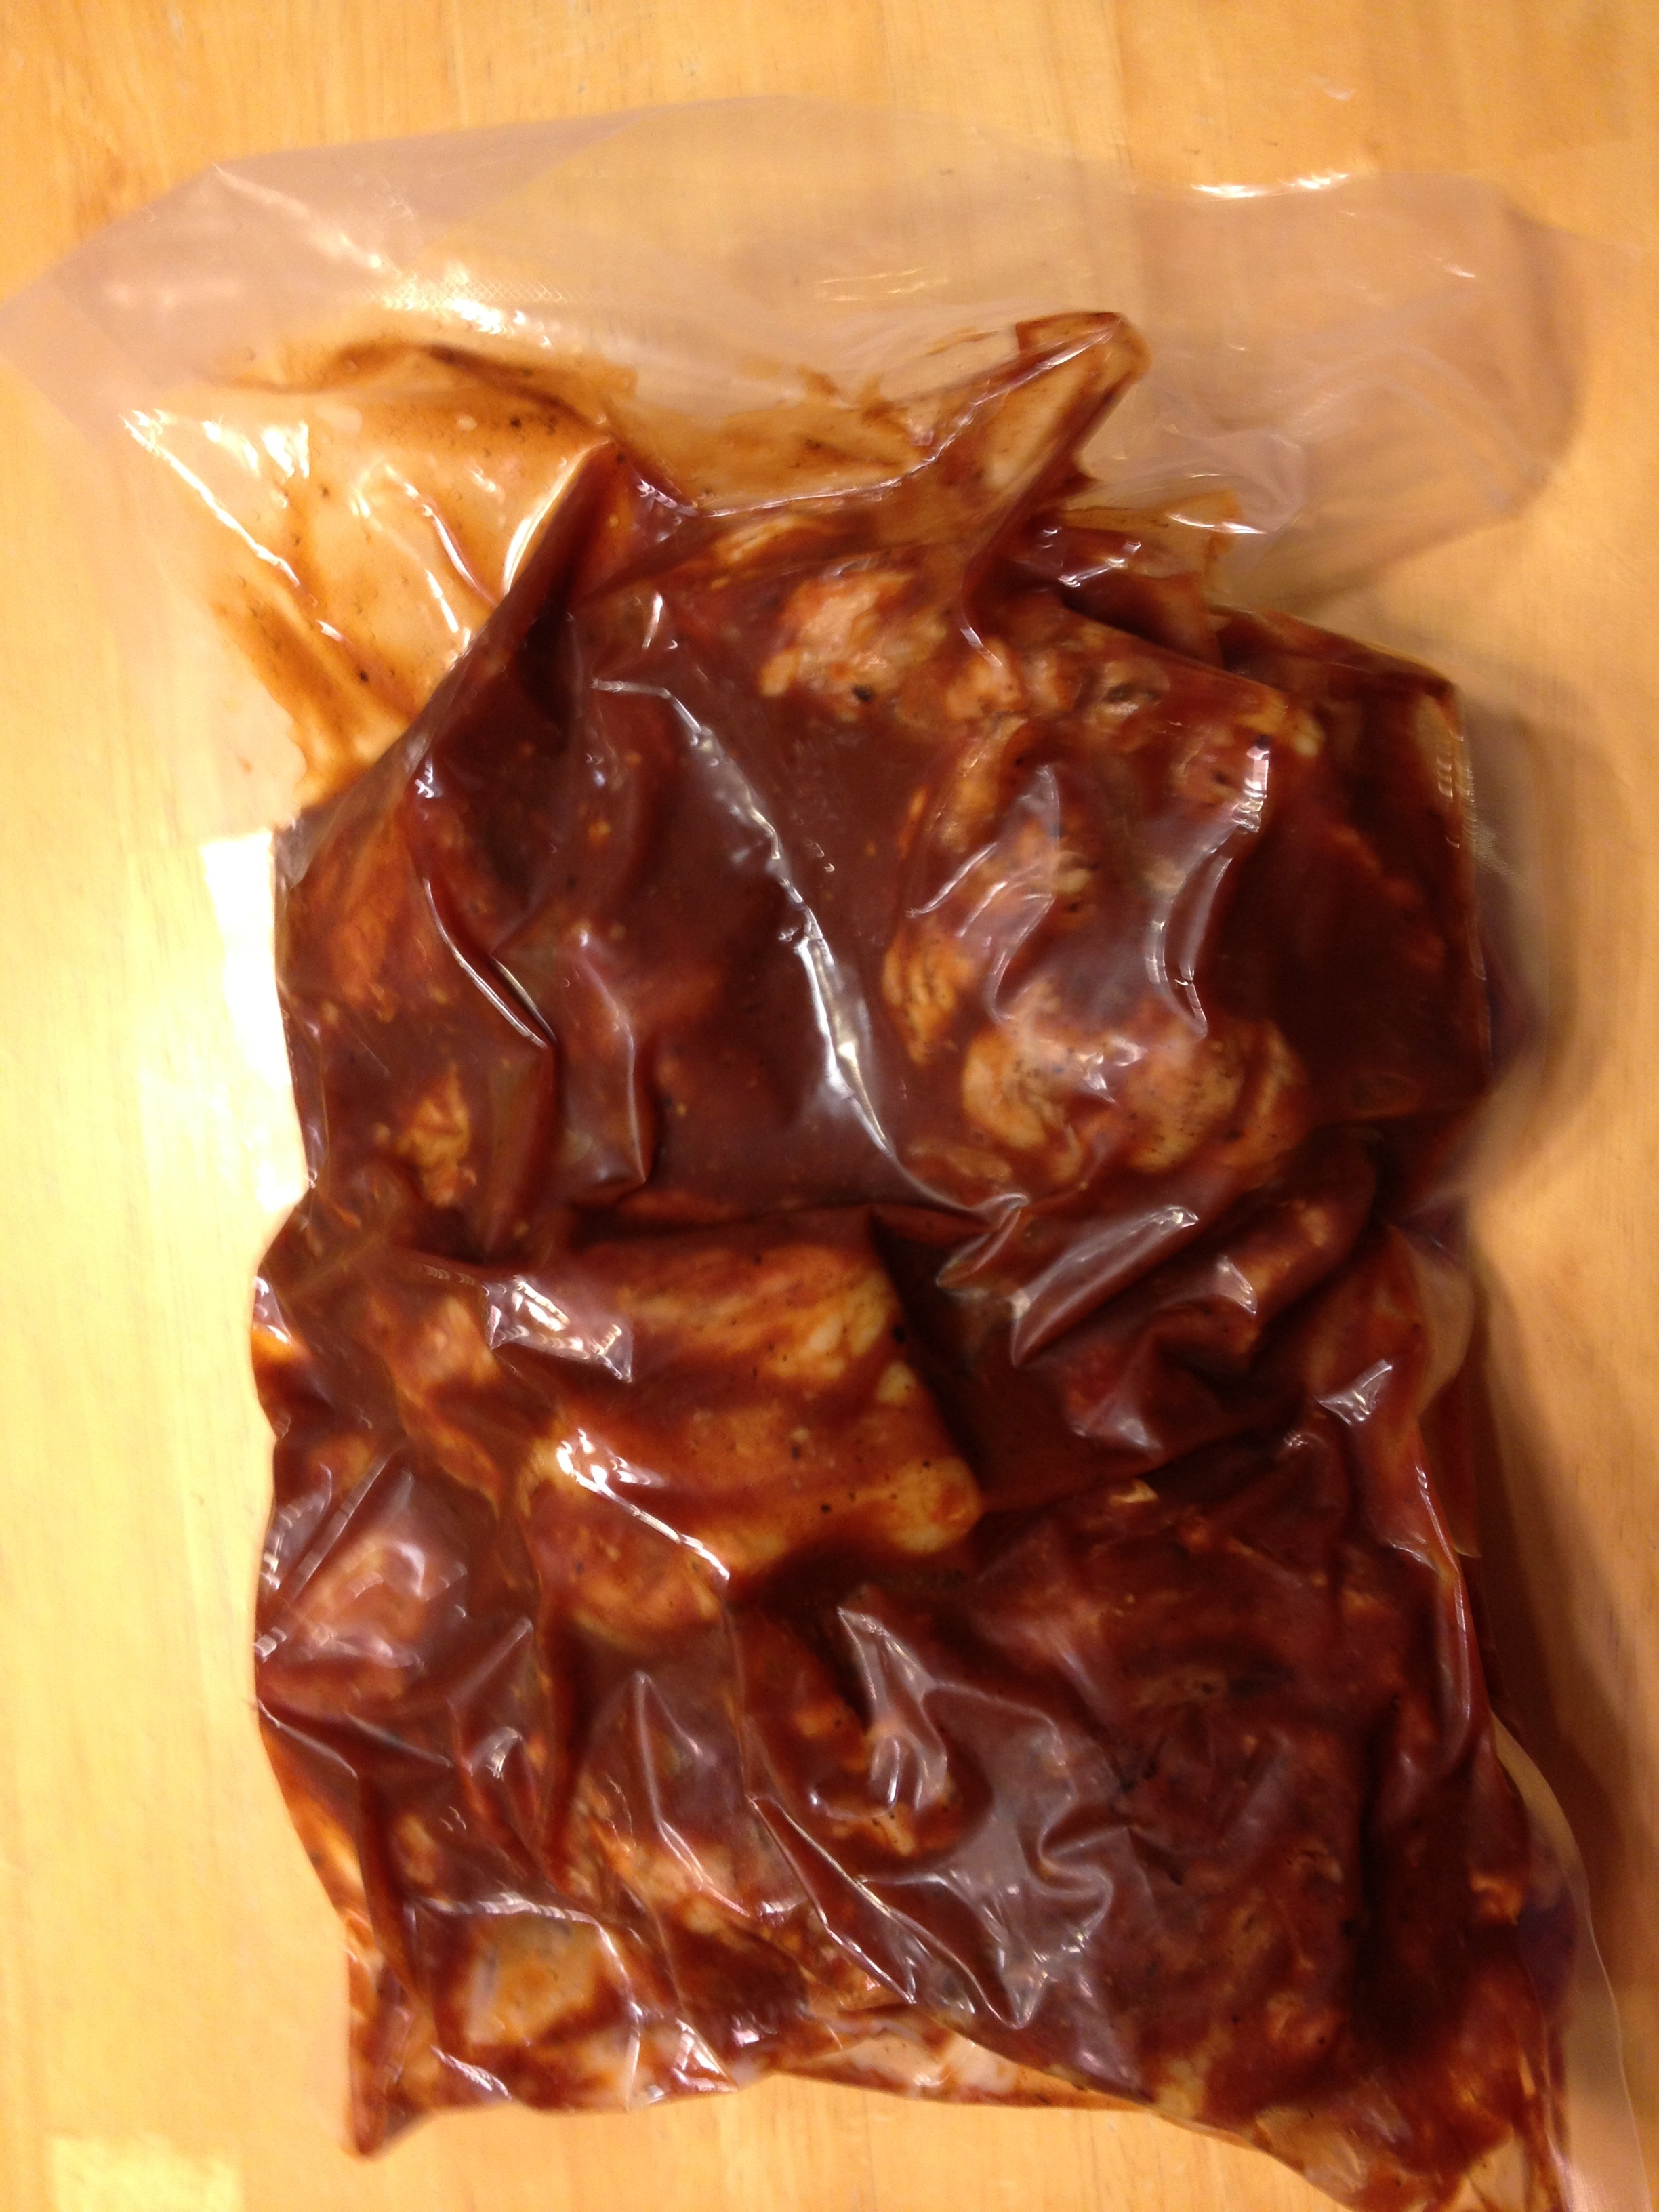
Seal roast in a plastic bag.

Place in your sous vide cooker set at 136°. The first time I made this I cooked it for two days. The last time I made it I cooked it for 12 hours. I was happy with the results both times. It wasn’t quite as tender with the shorter time, but I preferred the texture. Check the water once or twice to see if more is needed to cover.

Leave the meat in the bag until you are ready to slice it. Remove from the cooker and place in a sink of ice water for about 30 minutes to quickly cool it. Place it in the refrigerator overnight or long enough for it to completely cool. You can place it in the freezer for a couple hours to make it easier to slice. Remove from the bag and reserve the au jus. Thinly slice it.

Here is the finished product. I usually heat the au jus with a cup of water and 1 tbs of cornstarch to thicken it slightly to make French dip sandwiches.

Sous Vide Adobo Grilled Chicken Breast

For more information about sous vide cooking please see How I Sous Vide.
This is an easy recipe with great flavor. I like precooking the chicken so it doesn’t dry out on the grill. I’ve lightly steamed it in the past, then grilled. This time I wanted to try something different.
Ingredients:
- 4 chicken breasts
Marinade:
- 1 cup mayonnaise
- 2 cloves garlic, crushed
- 2 tbs lime juice
- 1 tsp oregano
- 1/4 tsp pepper
I split the chicken breasts, but that is not necessary. Place the chicken in a single layer into a vacuum sealing bag (or Ziploc).

Combine mayonnaise, garlic, lime juice, oregano, and pepper. Reserve about 1/2 cup for mopping the chicken later. Pour the remaining marinade into the bag with the chicken.

Seal the bag. If you are using a Ziploc type bag fill a large container with water and slowly submerge the bag to squeeze out air. When you get close to the zipper start sealing it, tilting the bag as you go to get out as much air as possible. Allow to marinate several hour or overnight.

Setup your sous vide system and place the chicken in the water bath. I cooked it at 136° for 2 hours. This cooks it to rare. While it is safe to eat, it can withstand a few minutes on the grill without drying out. Remove the chicken and place the bag into an ice water bath while you heat up the grill. I use a Cobb grill which takes about 30 minutes to get hot. Once the grill is hot take the chicken out of the bag. Place it on the grill, brushing with the reserved marinade. I grilled it for about 10 minutes.

Remove from grill and enjoy.

I’ve tried this recipe before, but this is the first time cooking it sous vide before grilling. It came out very moist and tasty. I think when I do it next time I will skip the additional brushing as it was nicely sauced when I removed it from the bag.
Read Full Post | Make a Comment ( None so far )How I Cook Sous Vide

I have recently discovered sous vide cooking. For those that are not familiar with this method of cooking it is basically cooking food in a bag at a low, controlled temperature. I am fairly new to this method of cooking so I am not giving advice on food safety or anything like that.
I decided to try it, because I wanted to be able to perfectly cook a steak. I think I’ve achieved that and have also had great results with pork and chicken as well.
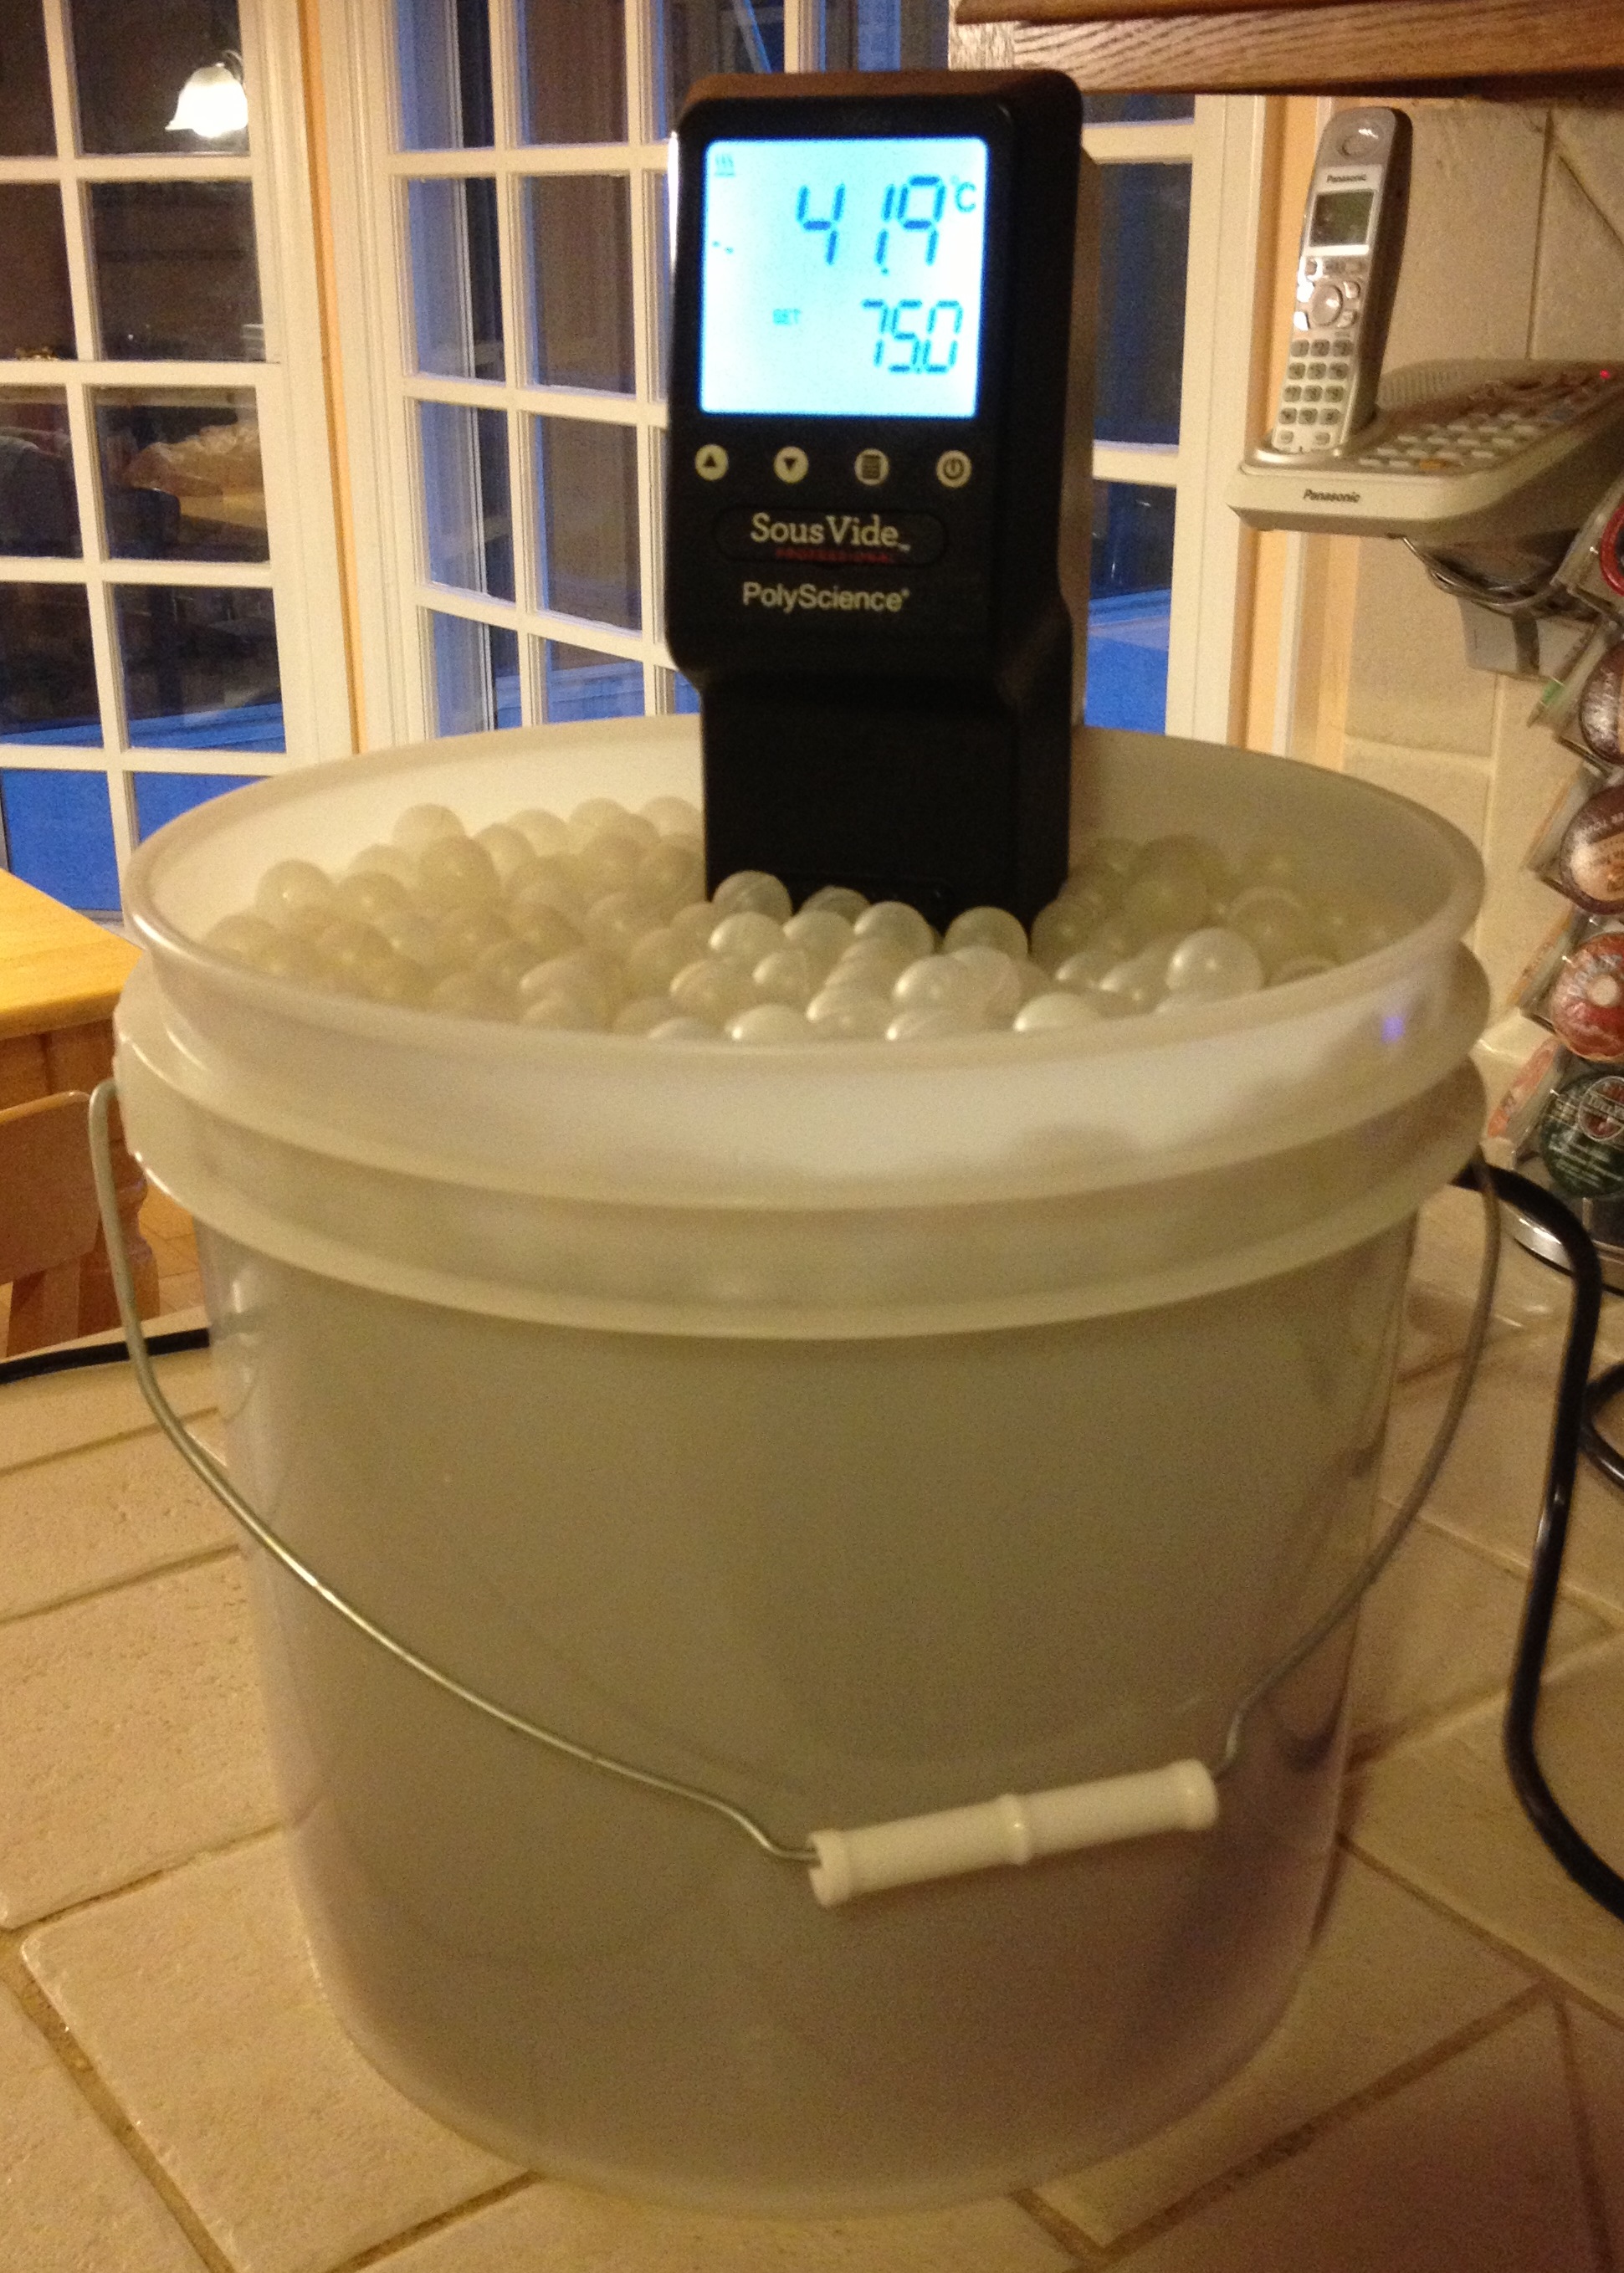
If you want to try it you can probably start with something you already own. When I started I used a Masterbuilt turkey fryer and a thermometer with a probe. It took some monitoring to keep the water bath at an even temperature, but I got decent results.
I would like to share with you my sous vide setup and how I use it. One thing I have learned is that there are many different ways you can set up a system. I already had the cooking device so my basic setup was probably about $200. Here’s what I use for the cooking:
- Sous Vide Magic (SVM) temperature controller
- Tetra aquarium pump with two air outlets
- Nesco 12 quart oven
- cooking rack
You will also need a vacuum sealer or Ziploc bags.
Here’s how I set it up:
Set the Nesco to 400° and fill about 3/4 full with water.

Set up the air hoses and temperature probe under a cooking rack. The air hoses are to keep the water circulating and helps to keep an even temperature. The temperature probe underneath is so it’s not touching the food.

Plug the Nesco and temperature probe into the SVM. Plug in the SVM and set the temperature. The SVM monitors the temperature of the water bath and turns the Nesco on and off accordingly. When I first used it I had the temperature dial of the Nesco cranked up to 500°. The temperature fluctuations were too great. I use it at 400° now and I get pretty consistent results +-.5°.

Attach the air hoses and plug in the air pump. This air pump came with airflow valves that I use to keep the bubbles to a moderate level.

Here is the finished setup.

It takes maybe half an hour to set everything up. Once it’s cooking I can pretty much leave it (for a couple days if necessary). I have made mistakes here and there like forgetting to put the probe in the water and plugging the air pump into the SVM (both end up with the bags boiling). I have a permanent label on the Nesco cord and I try to keep a close eye on the probe now. One other time I let the air hoses drop down which created a siphon and a huge puddle on the floor. In spite of the learning curve (and stupid mistakes) it’s been fun to try.
This is just the basic setup. The other part of it is sealing what you are cooking in plastic bags. Seal in a single layer in a vacuum sealer or Ziploc (freezer) bags. For Ziploc bags fill a large container with water and slowly lower the bag into the water. When you get close to the zipper start sealing it, tilting the bag as you go to get out as much air as possible. It is not critical to get all the air out.


